First Step Wizard |
This wizard will show you the basic process of simulation.
In the free version, there are no built-in sample train and route. So to prepare
the data, you must execute this wizard.
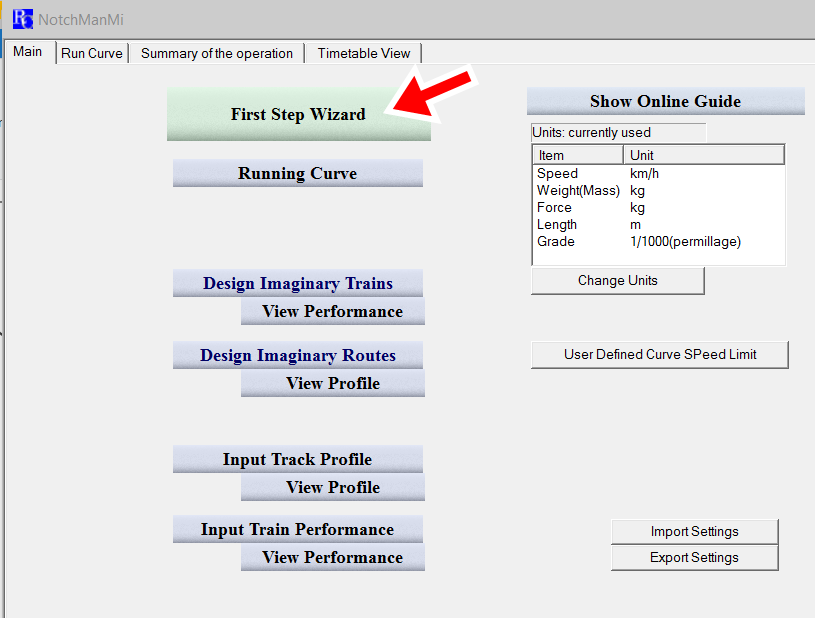
1. Click [First Step Wizard Button] on the main page.
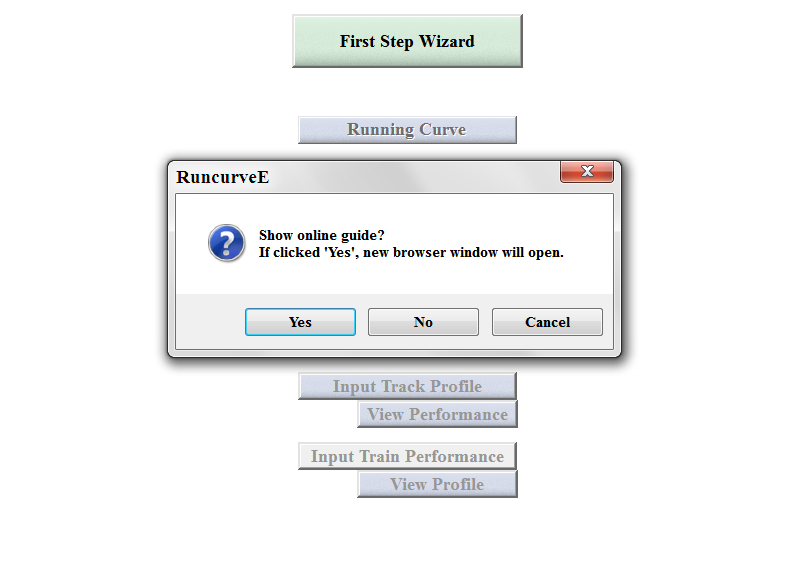
(2) If you wish to read the online guide, click [Yes] else click [No].
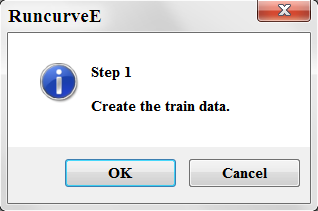
(3) Click [OK] to continue.
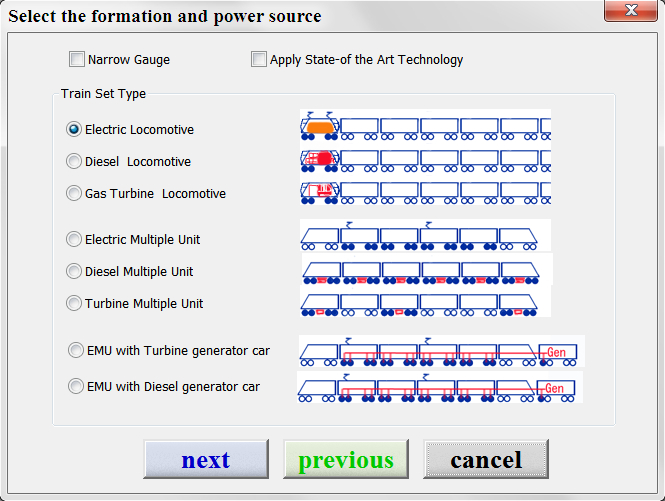
(4) In this window, you can select the train type. Click [next].
(5) In this window, you can specify the train formation and total output. Click [next].
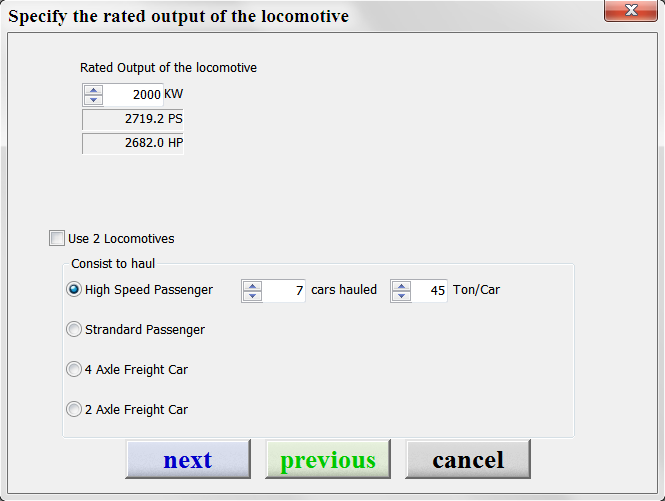
(6) In this window, you can select the designed speed and characteristics. Click [next].
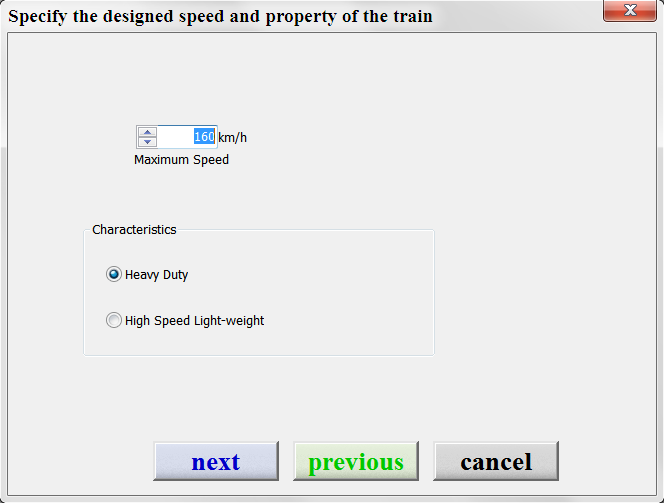
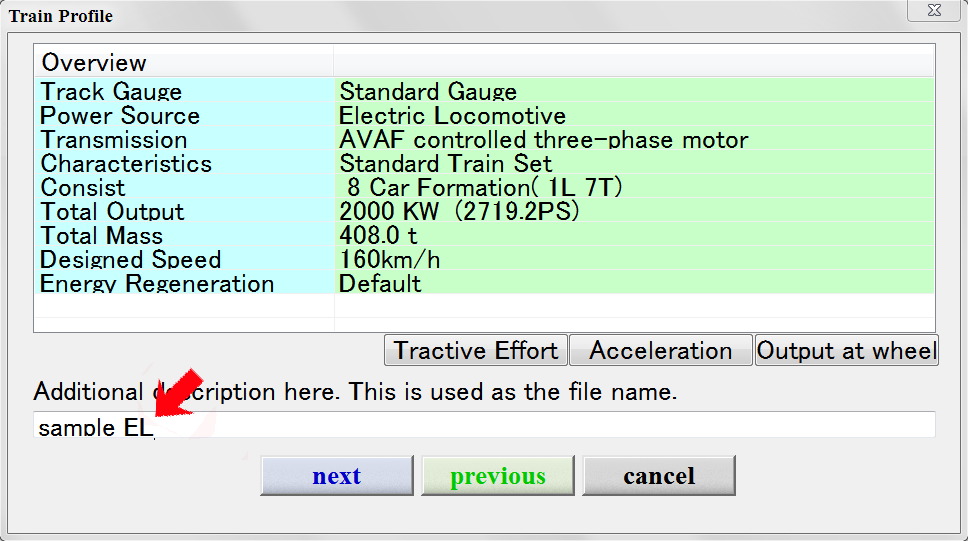
(7) In this window, you can check the train properties. You can add your
comment about this train in the red arrowed edit box.
This comment is used as the file name. Click [next].
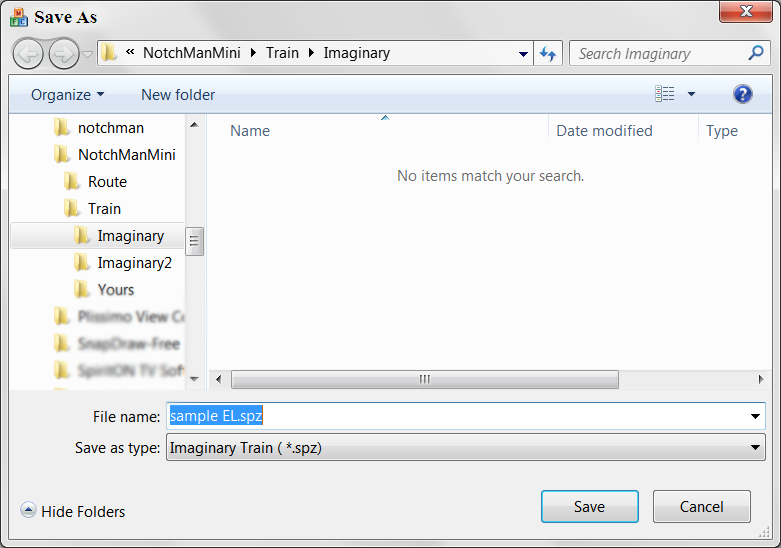
(8) Save as dialog box appears and click [Save].
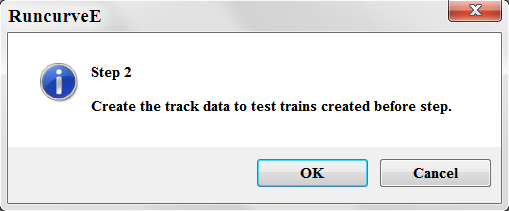
Next step is to create the imaginary route. Click [OK].
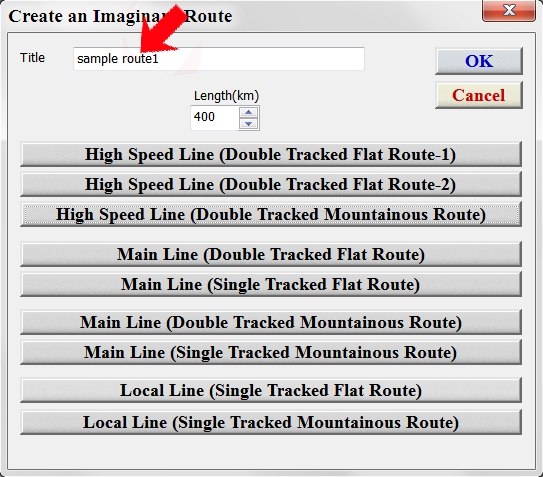
(9) In this window, you can specify the property of the route to create.
You
can select the total length and characteristics of the route.
Input the title of this route edit box.
This comment is used as the file name.
Then click a button listed below.
Each button's title represents the characteristics of the route.
The local line is rich in curves, steep slopes, stations and low speed limit
turnouts.
The high speed line is a long distance straight line and a few curves.
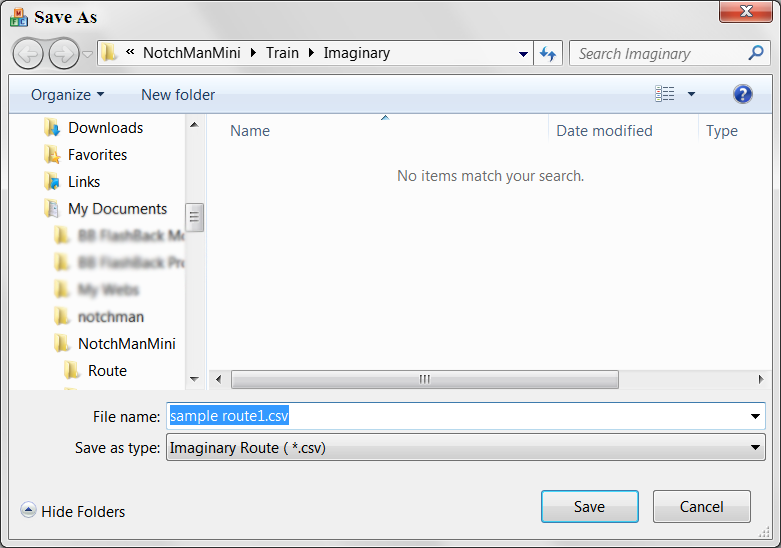
(10) Click [Save].
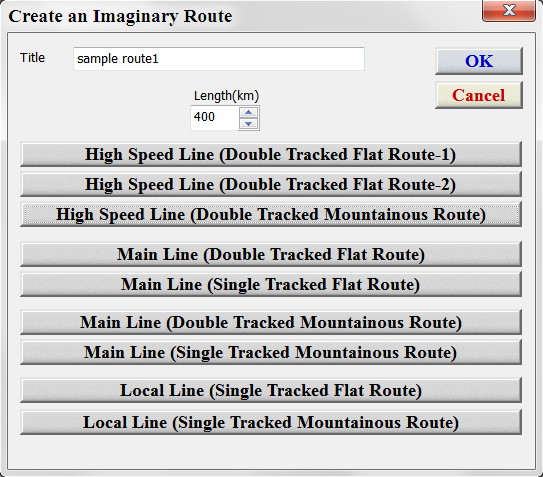
(11) You can repeat this procedures above.
If finished, click [OK}.
Next step is to create the running curve. Click [OK].
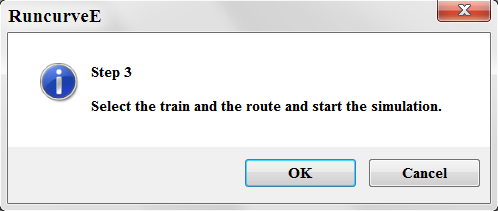
The paid version will show this window. Click ['From File].
The free version skips this window.
.png)
Select the route file created above.
.png)
If you wish to set stopping stations, click station name in this window.
.png)
Click [next].
In the next window, click [Imaginary Trains created by you].
Built-in sample train data will not be displayed in the free version.
.png)
Select the train created above.
.png)
Click [next].
.png)
Click [next].
.png)
Click [next].
.png)
Click [next], then the calculation will start.
.png)
The running curve is created and displayed.
.png)
Use sliders to scroll the graph or change the graph magnification,
Click here to go to the contents page.
